Wound Application!

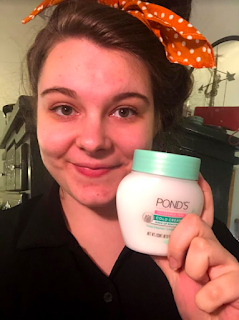
You know what time it is! Cold cream, hair back, and "costume" on! (Added cold cream everywhere but where the wound was going) Added spirit gum to the back and waited for it to get tacky. (This looks disgusting) Once tacky, I held the wound in place for a minute or two so it adhered to my face. Then, added foundation to my whole face. Went through the steps of bruising to add a bruise to my cheek. Really wanted to look BEAT so I added another bruise to my forehead. (Tried lighter bruises this time!) Next, added the red shades to the inside of the cut. Then, added the dark blue to the inside edges to deepen the color. Finally added some fake blood for the cherry on top! Finished look Finished look part 2! For removal I took off the blood with a baby wipe, used the spirit gum remover bit by bit to get the piece off. So next...


